Today's post is a digital tip for my fellow artists and all those photoshop addicts out there.
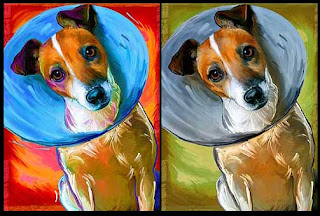
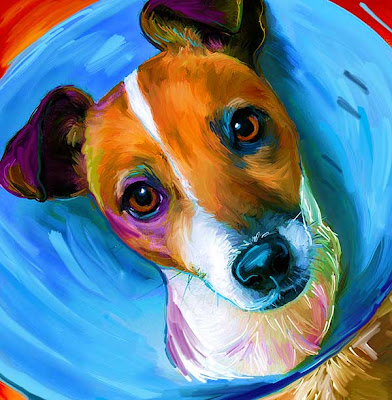
In reviewing the two images above you might assume that I started out working with the image on the right, creating a tame and traditional pup with natural coloring. The reality is that the image on the right was totally created from the artwork on the left. All of the paint strokes and smudges were slowly added in bold living color with the wacom tablet. Then when all was said and done, I took the original untouched photographic layer that was buried way beneath all of my other work layers and placed it on top of the work, then I went into layer effects and told it to be a color layer and boom, all of my pretty color highlighting was gone, but none of the groovy paint texture disappeared. It is a quick and easy way to tone down color. I happen to like a lot of color though so I am going to post a larger detail of Eddy below.

Pet Portrait artists can find more process & tips on my blog by clicking here and scrolling down the page.


3 comments:
Hi Rebecca!
I love both portraits! I would have to have them both!
:) melissa
Hello!
What a great site you have! I really enjoy seeing other artists that love working with dogs as much as I do.
I photograph dogs, and have most of my work on my site at www.slobberspace.com. Feel free to stop by, I'd love to hear what you think.
Anna Kuperberg
Rebecca,
Thanks for the tip...I have never thought of trying that! Thanks for sharing...
Post a Comment